Cách tạo file cert SSL đúng chuẩn
Bạn đang xem bản rút gọn của tài liệu. Xem và tải ngay bản đầy đủ của tài liệu tại đây (124 KB, 1 trang )
Case 1: Danh sách file cert đi kèm gồm 3 file: root_ca,
intermediate_ca, domain certificate
Thực hiện ghép 3 file thành certificate chain như sau:
Copy file domain certificate thành file mới, đặt tên là: main_cert.crt
Mở 3 file: main_cert.crt, root_ca và intermediate_ca. Copy lần lượt nội dung của file
intermediate_ca và root_ca xuống cuối file main_cert.crt
Extract private key
openssl pkcs12 in cert.pfx nocerts out certencrypted.key
openssl rsa in certencrypted.key out cert.key
The second command removes the requirement to enter the password upon webserver
start. Quite useful if you don’t want your webserver get stuck with “Enter passphrase”
during startup
Extract public key
openssl pkcs12 in cert.pfx clcerts nokeys out cert.crt
Generate CA file
openssl pkcs12 in cert.pfx nokeys nodes cacerts out cabundle.crt
Case 2: File key chưa đúng định dạng rsa
KH gửi file cer, key apply trên portal báo lỗi => cer của kh chưa phải CA, chủ động ghép
CA bằng trang này: />+ Lấy nội dung cer dán vào và tải về file crt. Apply lại là được.
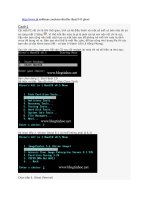
Bước 3: Verify lại certificate chain
/>
/>