Tài liệu Nghệ thuật xếp hình:buck_the_bunny ppt
Bạn đang xem bản rút gọn của tài liệu. Xem và tải ngay bản đầy đủ của tài liệu tại đây (16.16 KB, 2 trang )
1
1
1
1
ONE
1
1
1
1
Body not shown
head and front
only here.
Body not shown
head and front
only here.
1/3
1/3
1/3
1/3
1/3
1/3
Buck The Bunny
By Perry Bailey c 1998/1999
1
2
3
4
5
6
7
8
9
10
11
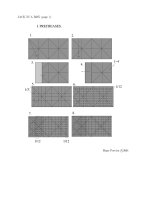
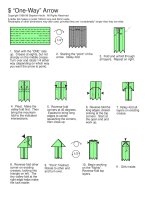
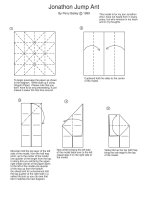
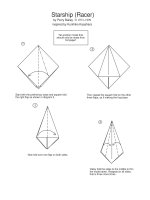
Take a dollar bill or a piece of paper
around the same dimensions, fold it
in half the long way, then unfold.
I am using a dollar bill, starting front
side up crease it then turn it over.
Make a Water bomb base while folding
model in half.
Reverse fold the entire bill out
side of the WB base.
Inside reverse fold the length
of the bill back from about the
half way mark of the top or bottom
of the WB base.
Reverse fold in both corners,
(one to a side).
Reverse fold the bottom flap up
to form front paws, Make a Rabbits
ear fold on each side of the head.
This is shown enlarge to make
it possible to see the fold lines.
Squash down the ears, on both
sides.
Still in enlarged mode, Reverse fold
the front to make a nose, the top part
of the nose will co-operated if you force
it to, much like a small child or an ex-
spouse. Do an uneven double rabbits
ear fold along the lines shown to finish
the ears. Then we shrink the picture
back down.
Now crimp fold the rear part of the bill
from about 1/3 from the front on top,
to about 1/3 from the back on the bottom.
You should come out
something like this.
Now we need to work
inside the model so
the next view is interior
of the model.
We make an uneven rabbits ear
to get excess paper up inside of
the model, do both sides.
12
13
14
15
16
This is how it should look after our thinning
the model out with the preceding fold. Now
do a double inside reverse fold to form the
haunches.
Swivel fold up the legs
on each side. I used the
back of the bill to give
you helpful reference points.
Crimp fold the head downwards, so it
is even on both sides. Then open up
the model to lock the head in to place.
(See next diagram)
This is inside the model and magnified, to lock the
head in to place just use a simple valley fold on the
tip of the crimped material. Then you are done!
Just for continuity here is the finished model
still in the attitude you started with.
While I designed it to sit up, it
can go on all fours.
It just might tend to have the
nose a little close to the ground.
With any luck at all your rabbits will all look a little
different, each time you make it! Almost all the
folds can be altered to make each bunny unique.


